Video Doorbell Setup: A Step-by-Step Guide for 2026
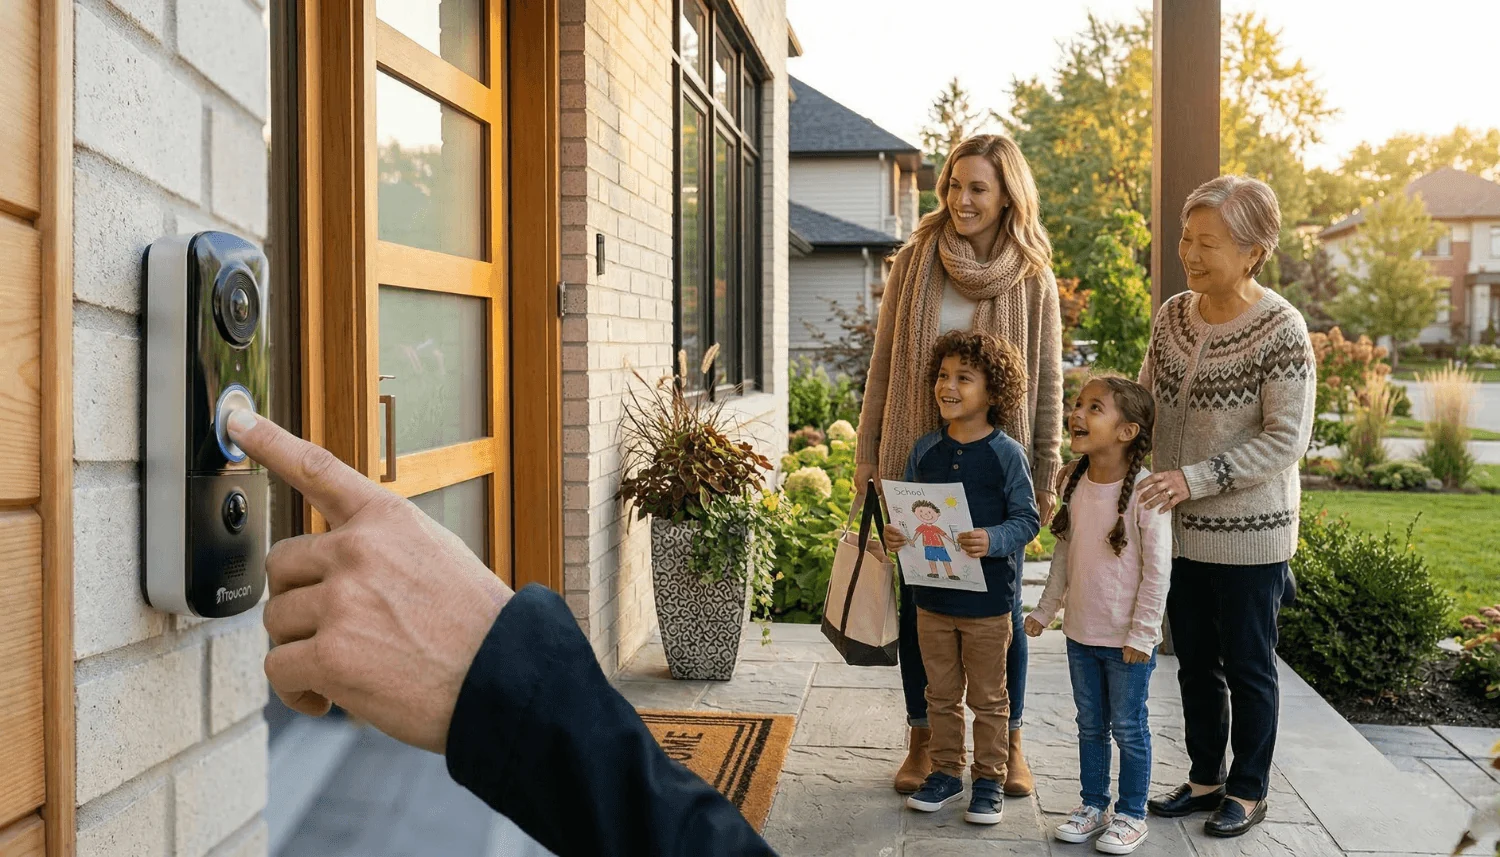
A parcel gets delivered while you’re at work, and instead of it sitting unattended outside your door for hours, you get a notification, check the app, and see exactly who dropped it off. That’s the kind of small but genuinely useful convenience a proper video doorbell setup gives you. It sounds like a minor gadget upgrade until you actually live with one for a few weeks.
I installed my own about a year ago after a string of delivery mix-ups in my building, and honestly, my biggest regret is not doing it sooner. The setup itself was far less complicated than I expected, though I did make a couple of avoidable mistakes along the way. This guide walks through exactly how to set one up in an Indian home in 2026, what to actually look for while buying, and the common pitfalls that trip people up.
Choosing the Right Video Doorbell Before You Start
Featured answer: When choosing a video doorbell for an Indian home, prioritise weather resistance (IP65 rating or higher for exposed entrances), battery life of at least 3-6 months, night vision quality, and WiFi range compatible with your existing router placement. Prices typically range from ₹3,000-8,000 depending on features.
Related home guide: Apartment Security Tips for Renters (2026 Guide) →
I’ve noticed a lot of people buy based purely on brand recognition without checking weather resistance, which genuinely matters if your main door faces any direct sun or rain exposure. A doorbell that isn’t properly sealed will degrade fast in Indian summers and monsoons.
Battery-powered models are generally easier to install since they skip the wiring step entirely, though wired models offer more consistent power without needing periodic recharging.
What You’ll Need Before Starting the Video Doorbell Setup
Gather these before you begin, so you’re not pausing halfway through to hunt for a missing tool.
- The video doorbell unit itself, plus mounting screws (usually included)
- A drill with the appropriate bit size for your door frame material
- A smartphone with the manufacturer’s app already downloaded
- Stable WiFi coverage reaching your front door — check signal strength here beforehand
- A screwdriver and spirit level for accurate mounting
Step-by-Step Video Doorbell Setup Process
Featured answer: A typical video doorbell setup involves choosing mounting location, drilling and securing the mount, connecting the device to home WiFi via the manufacturer’s app, and adjusting motion detection and notification settings. Most installations take 30-60 minutes for battery-powered models.
- Choose a mounting spot roughly 3.5-4 feet from the ground, angled to capture faces clearly rather than just feet or the top of heads
- Mark drill points using the included template, then drill carefully into the door frame or adjacent wall
- Secure the mounting bracket, checking it’s level before final tightening
- Attach the doorbell unit to the bracket, following the manufacturer’s click-and-lock or screw mechanism
- Download the app, create an account, and connect the doorbell to your home WiFi network
- Test the live feed and adjust the camera angle if needed before finalising the position
Has this ever happened to you — mounted a camera only to realise later it’s angled slightly wrong, catching mostly sky or the doormat? Test the live view before fully committing to the final screw positions.
Connecting to WiFi and Getting Notifications Working
This step trips up more people than the actual physical installation, in my experience.
- Ensure your router is on the 2.4GHz band, since most video doorbells don’t support 5GHz networks
- Keep the doorbell within reasonable range of your router, or consider a WiFi extender if your entrance is far from the router
- Enable app notifications specifically for the doorbell app in your phone’s settings, since some phones silence new app notifications by default
- Test the doorbell by having someone ring it while you check the notification delay — a few seconds’ lag is normal, longer delays suggest a WiFi issue
[link to related guide on smart home upgrades worth the investment here]
Setting Up Motion Detection Zones
Most modern video doorbells let you customise which areas trigger alerts, which genuinely matters if your entrance faces a busy street.
Picture a small business owner in Jaipur who installed a video doorbell at her shop entrance, only to get notified constantly by passing traffic and pedestrians on the street. Setting a custom detection zone focused just on the immediate doorway cut down false alerts by roughly 80%, making the notifications actually useful again rather than something she started ignoring.
Adjust sensitivity settings and detection zones within the first few days of use, once you’ve seen what triggers false alerts in your specific location.
Power Options: Battery vs Wired Installation
- Battery-powered — easier DIY installation, no wiring needed, but requires recharging every 3-6 months depending on usage
- Wired (connected to existing doorbell wiring) — consistent power, no recharging, but needs compatible existing wiring or professional installation
- Solar-powered add-on panels (₹800-1,500) are increasingly available in India, reducing how often battery models need manual recharging
[link to related guide on best home security systems for beginners here]
Common Video Doorbell Setup Mistakes to Avoid
- Mounting too high or too low, resulting in a poor viewing angle for faces
- Skipping the WiFi signal strength check before installation, leading to a frustrating reconnection loop later
- Forgetting to check local building or society rules, since some Indian residential societies have restrictions on external mounted devices
- Not testing the live feed before fully securing the final mount position
FAQ: Common Questions About Video Doorbell Setup
Do I need professional installation for a video doorbell? Not usually — most battery-powered models are designed for DIY installation in 30-60 minutes, though wired models connecting to existing doorbell wiring may need an electrician.
What WiFi requirements does a video doorbell need? Most models require a 2.4GHz WiFi connection with reasonably stable signal strength at the entrance; a WiFi extender helps if your router is far from the front door.
How long does the battery last on a wireless video doorbell? Typically 3-6 months depending on usage and notification frequency, though solar panel add-ons can extend this significantly.
Can I use a video doorbell in a rented flat? Yes, generally, especially battery-powered models that don’t require permanent wiring changes and can be removed easily when moving out.
Is a video doorbell setup difficult for someone with no technical experience? Most modern devices are designed to be beginner-friendly, with app-guided setup steps; the main challenge for most people is WiFi connectivity rather than physical installation.
Do video doorbells work during power cuts? Battery-powered models continue working during a power cut as long as the home router (and thus WiFi) stays active, often via a backup power source or inverter.
[link to related guide on how to secure your home while traveling here]
Wrapping It Up
A proper video doorbell setup genuinely takes less effort than most people expect, and the day-to-day convenience — screening visitors, catching delivery footage, checking in remotely — adds up fast once it’s running. Choose the right model for your entrance conditions, mount it carefully, and get the WiFi connection sorted early to avoid the most common frustrations.
If you’ve been putting this off, block out an hour this weekend and get it installed. It’s one of those small upgrades that quietly becomes something you rely on within days.
Explore more: Home Improvement · Renovations · Maintenance · Plumbing · Decorating ·